Monday, April 30, 2018

Binge Baking

I have a confession to make. I get a LOT of food magazines. In my defense, some are gifts (Cooks Illustrated), some are just sent to me (I'm looking at you, Eating Well and Cook's Country) and some I really just like to read and try the recipes (Bon Appetit, Rachel Ray Every Day and Cooking Light). Plus I really look forward to Wednesdays, when the Washington Post (our local paper) puts out its weekly Food section. AND, my neighbors and I swap our magazines, so I also get Southern Living, Better Homes and Gardens, Martha Stewart Living, Woman's Day and Women's Health. There's a lot of inspiration each month, so it's not surprising that I don't make the same meal more than once (the only things I make on a sort of regular basis are tacos -- but with different proteins -- meatloaf and chili). Sometimes I think my kids would like a little regularity, but they don't complain.

It's kind of hard to keep up with all of them, but some months I find more to try than others. Case in point was this week. This month's Bon Appetit had a feature on the "New Basics" that had a very interesting Sesame Tea Cake that I wanted to try and the paper had a feature on baking with salted butter that sounded interesting. I don't usually have a lot of time to do multiple bakes in a week, but this weekend kind of opened up when some of our activities were canceled, so I took advantage and made all the things in one weekend. YIKES! My family and neighbors were happy, because I shared some with them!

The first thing I tried was the Sesame Tea Cake from Bon Appetit. It involved finding black sesame seeds, but to my surprise, my area grocery store, Wegmans, carried them in the international foods aisle. Whew! For those who can't find them in your grocery store, you can also get them on Amazon, of course or my favorite spice shop, Penzey's.


I thought it turned out really nicely, and for those who don't like very sweet treats, this is perfect for you! Slightly sweet, but a little nutty and salty, even my kids liked it (my husband and older son ate almost half of it before we brought the rest over to our friends' house to try). It was also fairly easy to put together -- no complicated techniques or anything. With its pretty swirl pattern, it would make a nice addition to a brunch dessert platter as well!

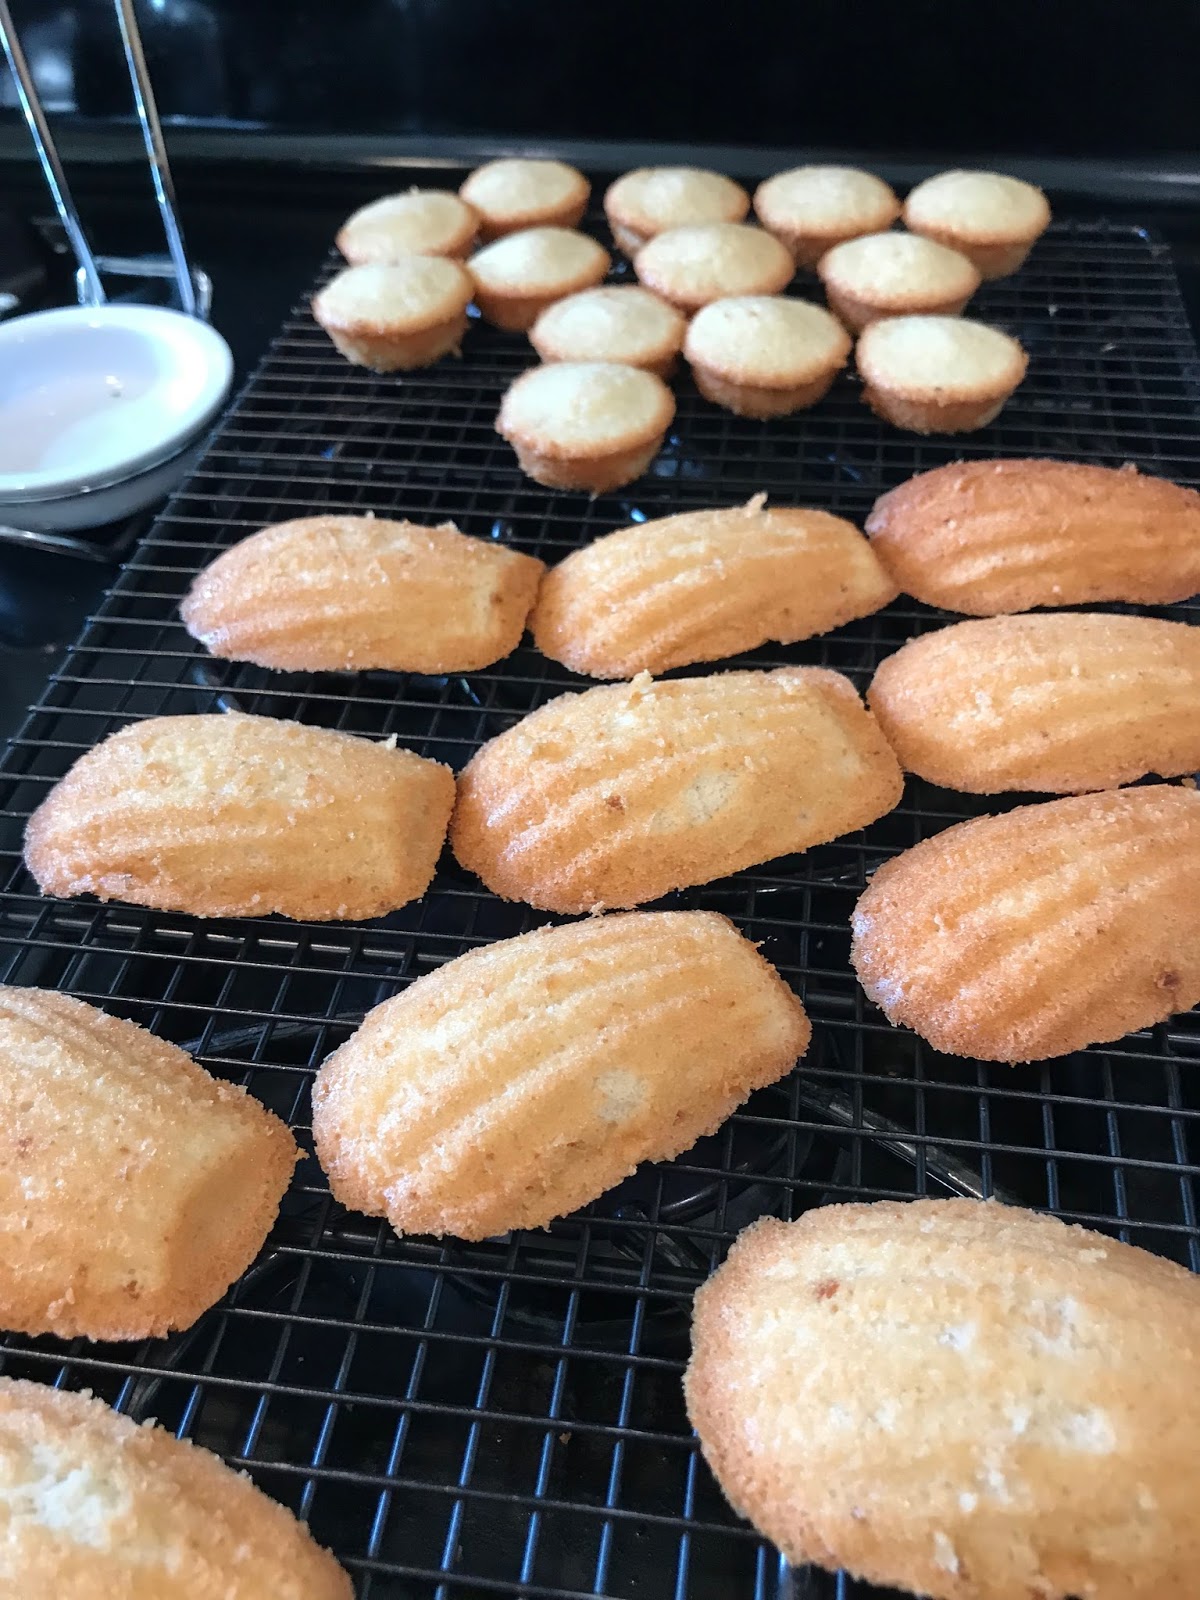
Next up was a couple of recipes from the Washington Post Food Section. They had an article that featured recipes with salted butter. Now, I don't think I've ever used salted butter (like, at all), so I was really intrigued to try these out. Because I bought a full pound (the only amount available), I decided to try two of the recipes. First up was a recipe for financiers, a fancy-sounding name for a little almond cake. This was a little more complicated because the recipe called for browning the butter and separating eggs, but those were the hardest steps. You also have to plan a little (or not have a timeline), because the batter goes in the refrigerator for at least an hour. On the plus side, once the batter has rested, it's super simple to pop them in the oven. I used mini muffin tins, as directed by the recipe, but had a good amount of leftover batter. The consistency was similar to a madeleine batter, so I made the rest using my madeleine tin. They turned out pretty well! If you really wanted to get fancy, you could dust with a little powdered sugar before serving. These go really nicely with a cup of tea. :-) You can find the financier recipe on the Washington Post website.


After I made the financiers, I still had 2 sticks of salted butter to use up, so I made the Milk Chocolate and Raspberry Jam Blondies from the same article. Unfortunately, I didn't have any milk chocolate handy, nor did I have raspberry jam. What I DID have was semisweet chocolate chips and some jammy balsamic cherries, so I gave it a shot. I really liked them! I left part of the pan unsullied by the cherries, because we have a purist in our house, so he wouldn't have liked them like that.  In the end, everyone was happy!


Now, I think I need to figure out which of these I'm going to either freeze or bring to work, since there's no way we need to have all of these sweets in the house (even with 2 teenage boys)! Plus, there's a recipe for Fluffernutter cookies I've been wanting to try....

Sunday, April 1, 2018

Nutella Makes Everything Better


As Spring is slowly showing her face, I realize indulgent comfort food is going to take a back seat to fresh spring vegetables (Hello, Asparagus!) and fruits (Yay, Strawberries!), but I wanted to post my take on Nutella Stuffed French Toast.

Normally, I made French toast by soaking it overnight, then baking it in the oven, similar to this recipe, since I've always had a hard time getting the right texture doing the stove top method (mine always seemed too soggy). However, on this occasion, I was inspired by a loaf of brioche that was on sale, which is the best type of bread to make French toast with, in my opinion. I know it's already rich, since brioche has egg in the bread itself, but it gets this wonderful crunch on the outside and melting texture on the inside that is the perfect kind of French toast!


The egg-milk batter that I dipped the bread in was pretty much your standard mix, but I added a little orange peel to complement the Nutella. And to up the crunchiness factor, I coated the French toast with corn flakes. I saw something similar on a cooking show (It might have been Diners, Drive-ins, and Dives where they did the same thing, but used Cap'n Crunch cereal).

This is my dipping set up:


Honestly, the trickiest part was transferring the dipped brioche from the dipping/crunch station to the frying pan (Once you dip the bread into the milk/egg mixture, the bread gets a little delicate), but after a couple of times, I got the hang of it.


And then, it was done! Served with a sprinkle of powdered sugar and some slices of Cara Cara oranges (our favorite), it was a big hit with the family! I thought it was sweet enough without syrup, but the kids put syrup on it anyway and liked it that way, too (we use pure maple syrup so it's not quite so sweet). Hope you enjoy making this!


Crunchified Nutella Stuffed French Toast

(makes 5 servings)

Ingredients:

One loaf of brioche bread (about 8-10 slices of bread)
Nutella
4 eggs
1/2 cup milk (any kind will do: skim, 1%, 2%, whole) -- I used 2% because that's what we have
1 tsp grated (or chopped -- it should be in small pieces) orange peel
approx. 1 cup corn flakes (may need more -- keep the box around...)
butter for the skillet
powdered sugar (optional)
maple syrup (optional)
fresh fruit for serving (optional)

To make:

Spread Nutella (using approx 1-2 Tbsp per slice) on 4/5 of the slices of bread. Cover with the other pieces of bread so that you have 4-5 Nutella "sandwiches." NOTE: start with 8 slices of bread -- for 4 "sandwiches," but I had enough of the milk-egg mixture to make a 5th serving. 

Combine eggs, milk and orange peel in a shallow pan (I used a 8-inch square dish). Pour the corn flakes in another shallow dish (I used a small plate with sides so that the corn flakes didn't slide out everywhere). Set up your dipping station:


Melt 1 Tbsp butter in a skillet. I used a small skillet to make just one at a time. If you have a larger skillet to make more than one at a time, you might need more butter. Temperature of the skillet should be about medium to medium high.

While the butter is melting in the skillet, dip one Nutella sandwich into the egg/milk mixture, then turn over to coat the other side. It should feel a little soggy. Pull the sandwich out, let the liquid drip off the bread for a second, then put on the corn flakes, pressing down onto the bread a little so the corn flakes will adhere. Flip the sandwich to get corn flakes on the other side.

Transfer the dipped sandwich onto the hot skillet. Cook on one side for about 3 minutes (check to make sure the corn flakes don't burn, but they will get a deep, golden brown, then flip to cook the other side.

Repeat with the other Nutella sandwiches. You might need to add butter to the skillet as you go (there should be a thin layer/sheen on the skillet to make sure nothing sticks) and I had to keep a close eye on the French toast, making temperature adjustments as I went to make sure nothing burned.

If you like, sprinkle a little powdered sugar on top and serve with fresh fruit and maple syrup on the side.

Enjoy!